
From Sketch to Soul: The Process of Painting Yamaha

Meet Yamaha—a lovable mixed Labrador who lived in Taoyuan City, Taiwan, with his big, caring family.
He loved running freely through the fields and often spent peaceful afternoons watching Grandpa tend to the vegetable garden.
Yamaha was a joyful little dog with a free spirit, unbound by chains. He shared family meals at the table—kibble was more of a treat than a staple.

His owner, Leo, told me:
He defeated every rival in the area and rose to become the champion of his realm. More than just an animal, he was a brave warrior who fiercely protected his home.
To leave behind his iron will, he would dig deep into the earth late at night—those quiet hours were his time to sow happiness.
Though he's no longer with me, I still see his shadow everywhere. It's as if he never truly left.

Step 1: The Sketch
Every portrait begins with quiet observation. Yamaha had the sweetest eyes and such a calm, gentle presence—I wanted to capture it just right. I spent extra time sketching and adjusting his proportions.
But here was the first hiccup: I accidentally drew his tongue way too long—and I just couldn’t figure out what was throwing everything off! 😅
It wasn’t until I started painting that I finally realized the mistake. Luckily, I was able to fix it during the process—and in the end, Yamaha looked just like himself.
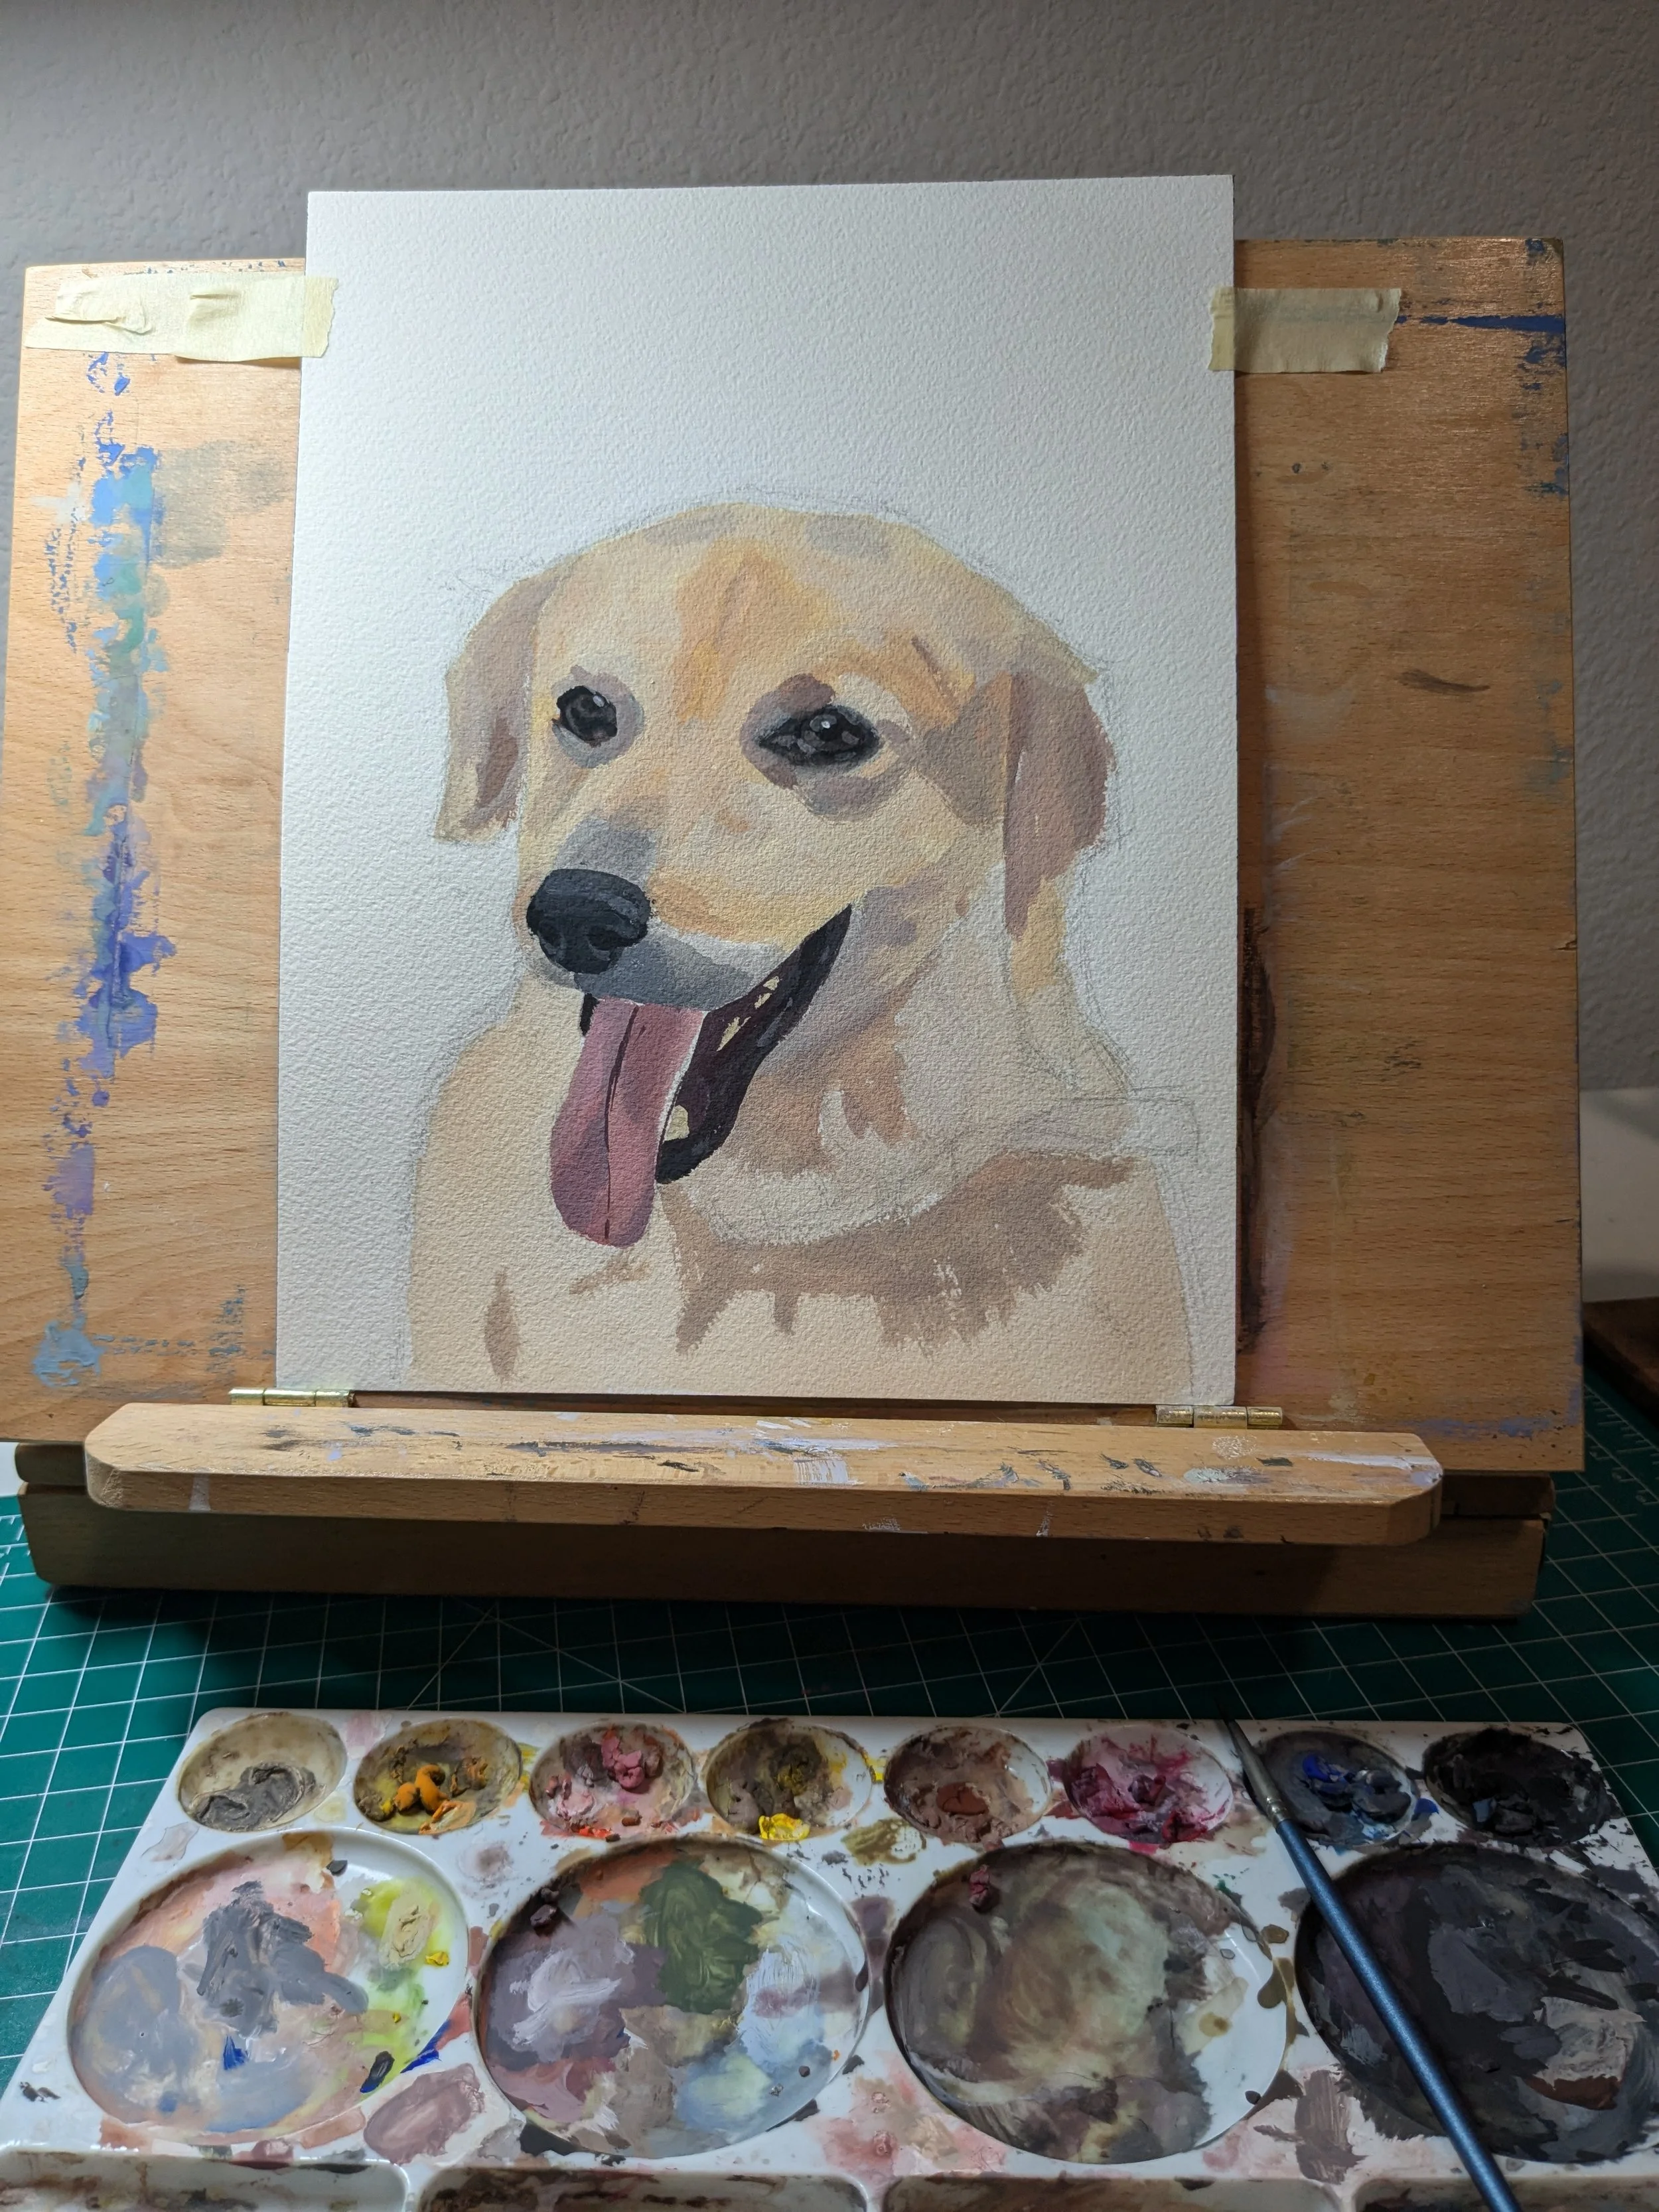
Step 2: Painting with Gouache
I love working with gouache because it allows me to build multiple layers. It gives me the freedom to fix mistakes—like when I choose the wrong color tone, I can paint over it and make it right.
That said, I’m still learning to leave some of the natural strokes from the first and second layers. Sometimes I cover up too much, and the painting starts to lose that organic feel I love.
It’s a balance I’m constantly working on: using the colors I want with fewer layers, while trusting the brushstrokes to speak for themselves.
I’ve also noticed that I use a lot of dry strokes in every piece I create. I love the texture it gives—it feels more expressive and artistic, and it creates a distinct look that’s very different from simply copying a reference photo.
Dry strokes help me put more of myself into the painting.

Step 3. Final Touches
When I finished the painting, I sent a photo of it to Leo.
Since the artwork was being shipped all the way from Texas to Taiwan, I wanted to make sure he was happy with the result before mailing it out.
He mentioned that Yamaha's body could look a little wider, and that his fur should have more wavy curls.
He was absolutely right! After making those adjustments, Yamaha looked so much more like himself.
If you’re interested, you can watch the painting process here!
Yamaha was deeply loved, and I’m grateful I could help preserve his memory through art.
If you’d like to turn your pet’s story into a custom portrait too, you can order a portrait below or learn more about the process on my Custom Pet Portraits page.

★ Details:
⊹ Size: 8”x10” (unframed)
⊹ Background: Natural paper color
⊹ Style: Close-up pet headshot (see examples on the left)
⊹ Medium: Gouache on professional ARCHES® paper
⊹ Signature: On the front corner (or on the back upon request)
⊹ Bonus: Free high-resolution scanned file included
★ Shipping:
⊹ Packed in a clear sleeve with a sturdy backing board for support
⊹ Shipped in a rigid mailer marked “Do Not Bend”
⊹ Free shipping with tracking included
★ Important Notes:
⊹ No frame included
✿ Special Offer for Pet Portrait Owners!
When you allow YiFang Studio to feature your pet’s portrait in marketing and future products, you'll receive two complimentary waterproof stickers!
(After adding the product to your cart, you'll see a permission window. Choose one of the 3 options, including permission to feature your pet’s portrait in marketing and future products, and you’ll receive both stickers with your order.)
For full details on how to order, shipping policies, and more, please visit Custom Pet Portraits page.
❤ Thank you for supporting handmade art and my small business! ❤